Clear vision ahead with our holiday markdowns on Invisible Glass Ceramic Silicone Wiper Blades. Prices as marked.
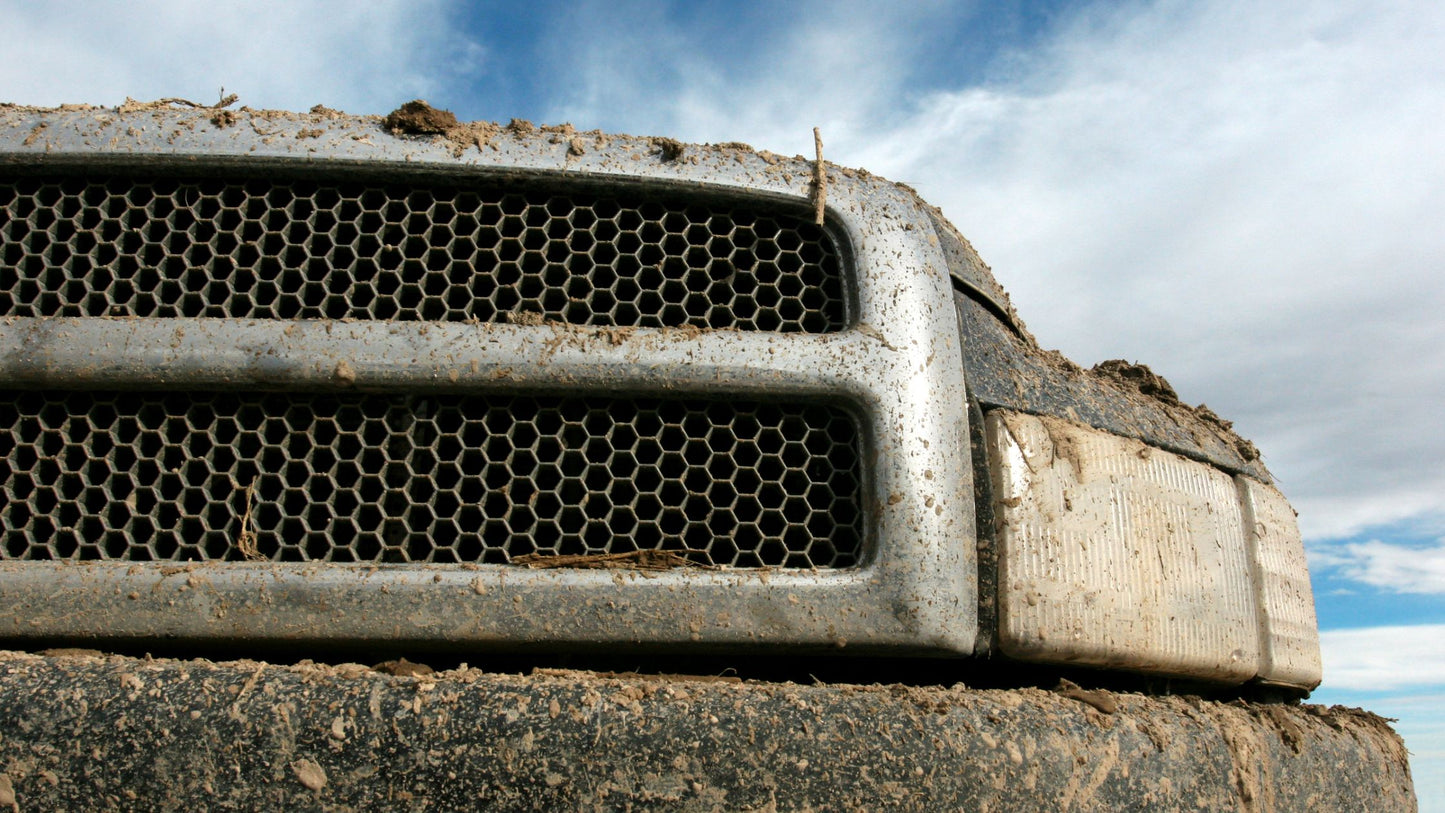
Trucks and mud go together like lightning and thunder; if you own a truck, it’s bound to get muddy fast. After hauling loads or trekking through the wilderness, clean-up can be a daunting task. In this post, we’ll share the tools, materials, and step-by-step process for safely cleaning a muddy truck.
To wash a muddy truck: Power wash from top-to-bottom, apply a wheel cleaner to the wheels, wash the vehicle with a car shampoo and wash mitt, scrub the wheels with a tire brush, rinse thoroughly, dry with a microfiber towel, and apply wax or sealant if you haven’t done so already.
Tools & Materials Required
- Pressure Washer
- Garden Hose
- Two Buckets
- Car Shampoo
- Wheel Cleaner
- Tire Brush
- Wax or Sealant
- Wash Mitt
Prepare your work area
Ready your work area by gathering all the needed tools and materials. Work in a shaded, cool area. Fill two buckets - one with your car shampoo wash solution and the other with plain water for rinsing your wash mitt. Prepare your pressure washer and ensure you have everything within reach.
Power wash your truck from top-to-bottom
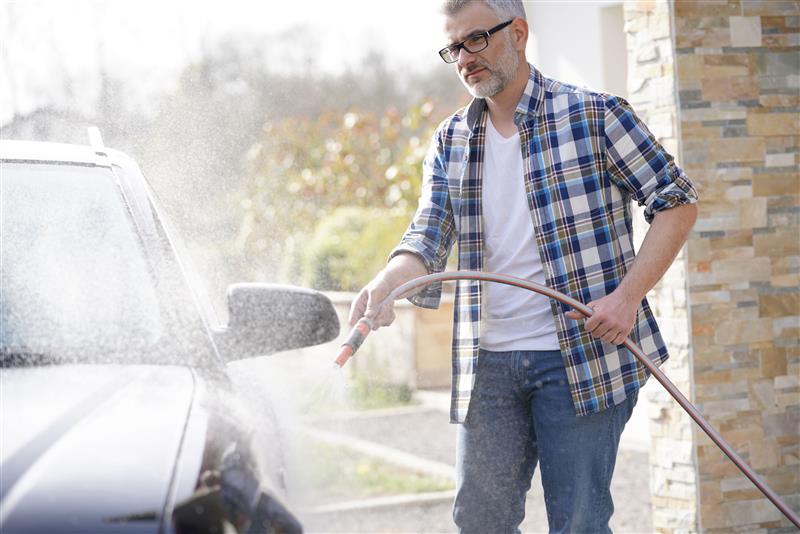
Begin by rinsing the truck from top-to-bottom. Pressure washers are useful tools for breaking down caked-on mud, but you can use a standard garden hose if the residue isn’t old or if there isn’t much covering your vehicle.
A thorough rinse will ensure you remove dirty debris safely. Immediately using a wash mitt can lead to scratches on your paint because mud often contains small rocks. A pressure washer safely removes these tiny particles without applying unnecessary, potentially damaging friction.
Target the wheel wells
While you have the pressure washer out, spray your wheel well interiors. This area takes the brunt of anything your tires kick up from the road: dirt, grime, oil, tar, brake dust, salt, cinders – you name it. A quick pass will go a long way in keeping these areas clean and functional.
Apply a wheel cleaner to the wheels
Apply your choice of wheel cleaner onto the wheels. Consider Stoner Car Care’s Wheel Cleaner if you need an effective product. SCC’s Wheel Cleaner’s pH-neutral formula has a foaming action that helps it cling to your wheels’ vertical surface to deliver a powerful clean.
Applying your wheel cleaner early in the washing process will allow additional time for the product to lift stubborn contaminants like mud, road grime, and brake dust.
Wash the vehicle with car shampoo and a wash mitt
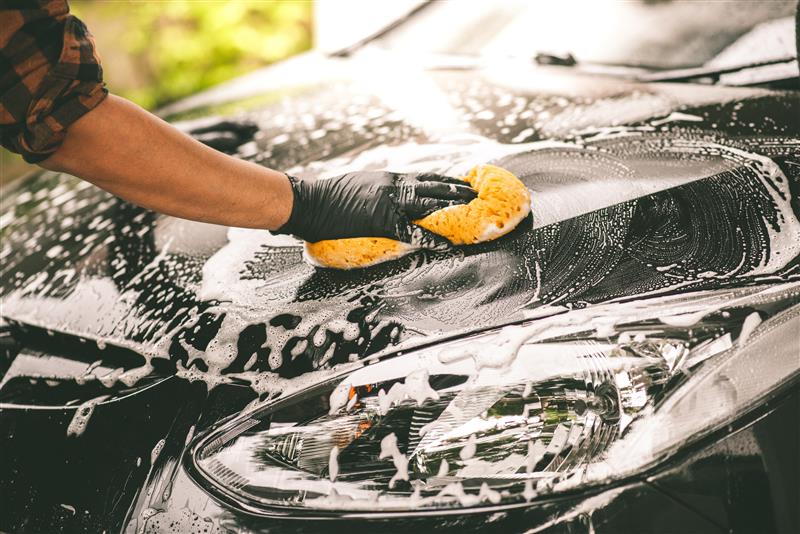
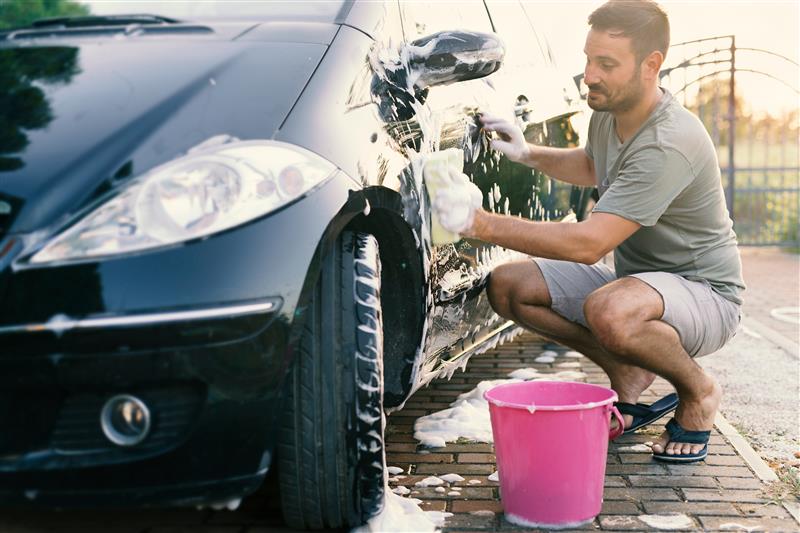
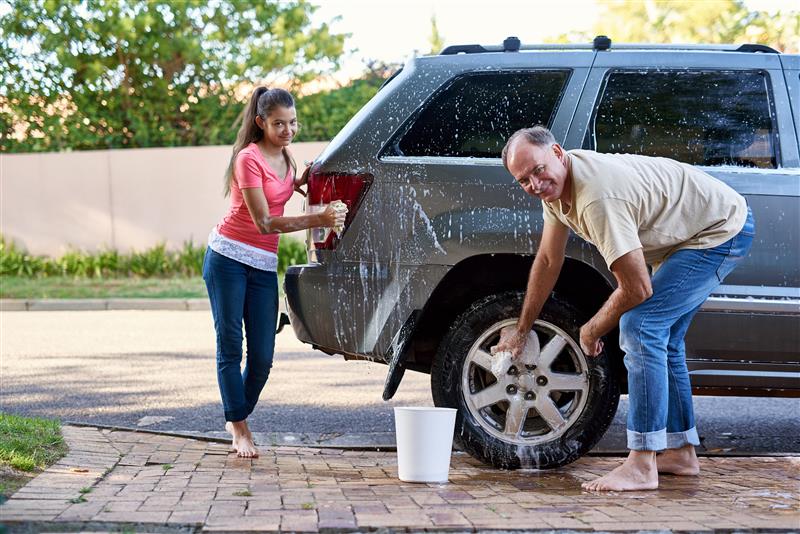
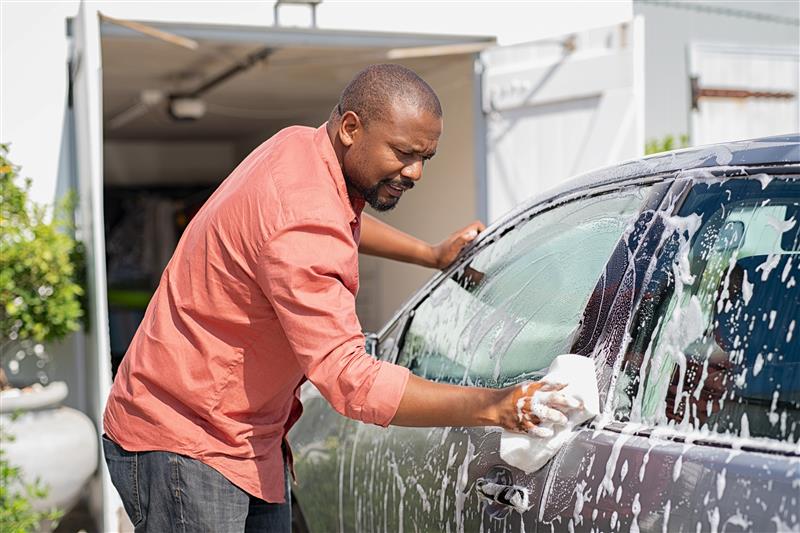
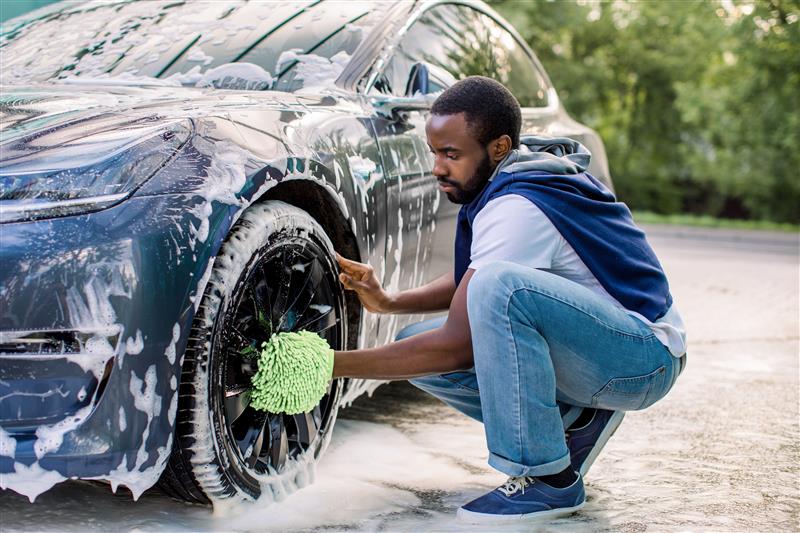
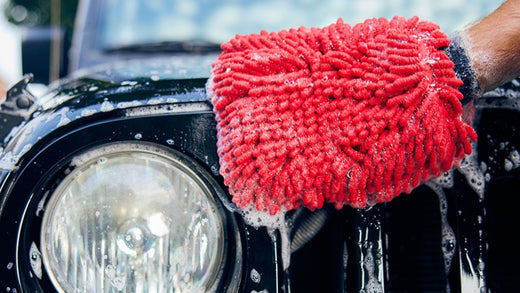
Using a wash mitt, apply soapy water to your vehicle. Or, if you’d prefer, you can use a foam cannon to blast a thick foam onto your truck. Foam cannons produce suds that will cling to your vehicle and provide additional lubricity to prevent potential scratches.
Whether you choose a traditional wash or a foam cannon, Stoner’s MOAB will deliver a powerful clean. MOAB’s high-foaming formula helps it cling to your vehicle’s surface. If you require a car wash, this is an excellent choice.
Wash from top to bottom
Washing from top to bottom is especially crucial when removing mud or rocks. The top of your vehicle will generally be its cleanest part; it’ll get dirtier as you move down. Working from top to bottom ensures no contaminated solution runs through already-cleaned areas.
As you wash, frequently rinse the mitt in your clean-water bucket or with a hose to remove debris. The lower you go on the vehicle, the more often you should rinse to prevent small rocks or sharp debris from scratching your paint.
Scrub the wheels with a tire brush
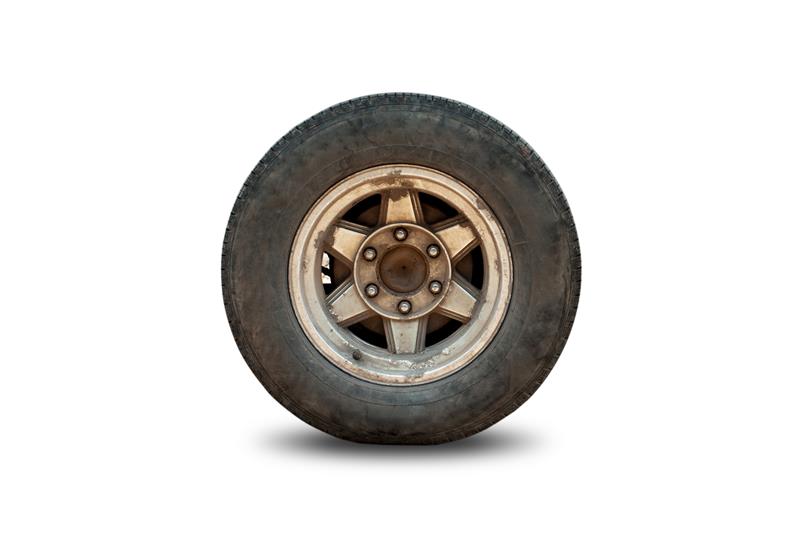
Now that the wheel cleaner has had enough time to sit, you can scrub the wheels with a tire brush. Get all areas of the rim, including crevices, lug nuts, and the tire itself. Rinse the tire brush frequently as you clean to avoid reapplying mud or debris.
Rinse the vehicle thoroughly
Now that the paint and the wheels are clean, it’s time to rinse everything thoroughly. Use your pressure washer or hose to lift dirt, soap, or lingering wheel cleaner. Ensure no suds or dirt remain before moving on to the next step.
Dry with a microfiber towel
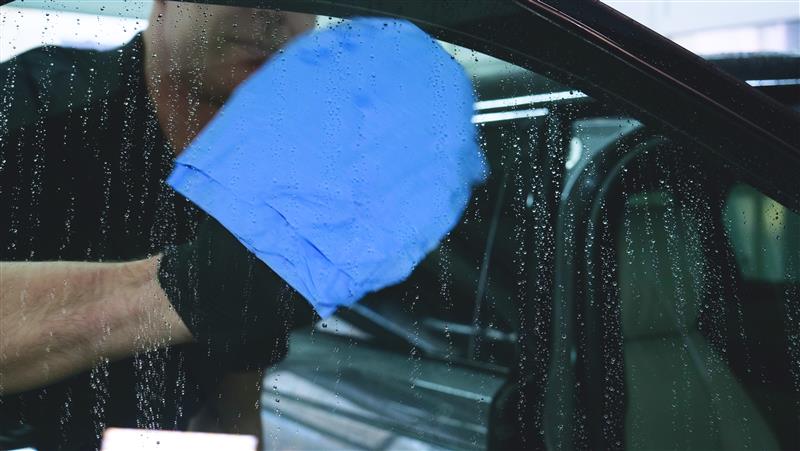
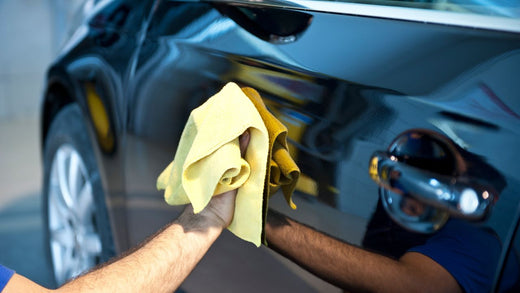
Follow up the rinse with a microfiber towel. These towels are designed for optimal absorption and are excellent at removing light debris. We recommend wiping in long, straight strokes from top-to-bottom. Start with the truck's roof, and work down the sides.
Water spots can form quickly, especially if you’re working in direct sunlight or hot temperatures. If you encounter them, simply reapply some soapy water, and follow it by drying them with a microfiber towel.
Your truck should now be free of mud, grime, and dirt!
Apply wax or sealant if you haven’t done so
Mudding doesn’t come without its risks. Applying wax or sealant won’t just protect your paint; it can help repel mud and other potentially-damaging debris. Both provide a temporary, invisible layer of protection between your paint and the outside world.
Check out our blog here for proper instructions on applying waxes or sealant. For quick step-by-step instructions, read below:
- Read the back of the product’s label for any specific instructions
- Shake the bottle for 30 seconds to mix.
- Apply wax or sealant onto an applicator pad.
- Choose a small panel area of the vehicle, and blot your applicator pad onto the surface.
- Buff in small circular motions until no haziness remains.
- Remove any excess product with a fresh microfiber towel.
And that’s it! Your truck is not only spotless; it’s protected and ready for future adventures.
Bring on the mud!
Cleaning mud off a truck is daunting, but lubrication and TLC are the secret ingredients to safely removing muck. Just follow these steps while washing a muddy truck: Power wash from top-to-bottom, apply a wheel cleaner to the wheels, wash the vehicle with car shampoo and wash mitt, scrub the wheels with a tire brush, rinse thoroughly, dry with a microfiber towel, and apply wax or sealant if you haven’t done so already. Take on the mud confidently, and your truck will be clean and ready to return to work, play, and all things muddy!
Related posts
Learn what causes stubborn car odors & how to remove them for good with safe, probiotic cleaners that eliminate smells at the source — no masking, just results.
What Is Car Detailing? A Complete Guide
Car detailing goes beyond washing — deep cleaning and protecting your car inside and out to preserve value, enhance comfort, and restore like-new condition.
Prevent Swirl Marks on Car Paint: Step-by-Step Guide for a Scratch-Free Shine
Learn how to prevent swirl marks on your car’s paint with proper washing, drying, and polishing techniques for a smooth, lasting, showroom-quality shine.
How to Safely Jump-Start Your Car in Minutes
Dead battery? Learn how to jump-start your car safely with step-by-step instructions, safety tips, and tools you’ll need to get back on the road fast.
How to Clean Car Vents Quickly and Effectively
Dirty car vents can cause odors, poor airflow, and trigger allergies. Learn how to clean your vents with simple tools to improve air quality, eliminate smells, and protect your HVAC system — all in just a few minutes.
How to Safely Wash a Black Car Without Scratching the Paint
Learn how to wash a black car safely and protect its glossy finish. Avoid swirl marks, water spots, and scratches with smart techniques and the right tools.
How to Clean Tinted Car Windows Without Damaging the Film
Learn how to safely clean tinted car windows without streaks or damage. Discover tint-safe products, techniques, and what to avoid for long-lasting clarity.
Is Tire Blooming Bad? What Causes Brown Tires and How to Clean Them
Brown tires? It’s likely tire blooming. Learn what causes it, if it’s harmful, and how to clean and prevent it for a deep black finish.
How Long Do Car Washes Take? A Quick Guide to Every Type of Wash
How long does a car wash take? Compare automatic, touchless, hand wash, and detailing times. Learn time-saving tips to wash your car faster and safer.
10 Essential Steps to Wash Your Car the Right Way
Wash your car like a pro—no swirls, no streaks. This 10-step guide shows you how to protect your paint, boost shine, and get that just-detailed look.
How to Remove Scratches from a Black Car
Learn how to fix scratches on black paint, from swirl marks to deeper damage. Step-by-step tips to restore shine and protect your car’s finish.
Is It Bad to Wash Your Car Too Often? The Truth About Frequent Car Washing
Think washing your car too often ruins the paint? Think again. Learn why frequent washes protect your vehicle—when done right with the proper tools.
How to Detail Your Car at Home: Step-by-Step Guide for a Pro-Level Clean
Bring your car back to life with this step-by-step detailing guide. Learn how to clean, polish, and protect your vehicle for pro-level results at home.
How to Get Rid of Bad Smells in Your Car: A Step-by-Step Guide
Learn how to remove bad smells from your car for good. Discover the top causes of car odors and step-by-step tips to eliminate and prevent them naturally.
How to Clean Fabric Car Seats: Easy Tips for Pro-Level Results
Clean fabric car seats like a pro with these simple steps! Learn how to remove stains, refresh upholstery, and extend your car’s interior life—easily at home.
Hot or Cold Water for Washing Your Car? What's Best for Your Paint
Hot, cold, or lukewarm? The right water temperature makes a difference when washing your car. Learn the pros and cons to keep your car clean without damage.
How to Clean a Child’s Car Seat: Simple Steps for Safe, Spotless Results
Keep your child’s car seat clean, fresh, and safe with these easy steps. Remove stains, sanitize surfaces, and maintain hygiene for every ride with confidence!
How to Clean Car Battery Corrosion: Prevent Problems & Boost Performance
Prevent battery corrosion to keep your car running smoothly! Learn how to clean and protect your battery terminals in minutes for better performance and longevity.
Conventional vs. Beam Wipers: Which Type Is Right for Your Car?
Conventional vs. beam wipers: Which is right for you? Compare performance, durability, and cost to find the best option for clear visibility in any weather.
How to Change and Replace Windshield Wipers
Ensure clear visibility and safer driving by replacing your windshield wipers. This guide covers wiper types, step-by-step installation, and maintenance tips.
How to Remove Hard Water Spots from Car Windows
Hard water spots on car windows reduce visibility and damage glass. Remove them with specialized cleaners and prevent future buildup with proper maintenance.
Are Automatic Car Washes Safe for Your Car’s Paint?
Are automatic car washes safe for your car? Learn the risks, explore safer options like touch-free washes, and discover why hand washing is the best choice.
How to Maintain Matte and Satin Car Paint: Essential Tips for a Flawless Finish
Keep your matte or satin car paint flawless with proper care! Learn expert tips, must-have products, and maintenance steps to preserve its sleek, non-glossy finish.
What Products Are Safe to Use on Your Car's Interior?
Protect and enhance your car’s interior with safe, effective cleaning products. Achieve professional results on leather, glass, vinyl, and more!
Top 10 Must-Have Products for Basic Car Detailing
In this guide, we'll walk you through the essential products to get your car looking its best, from cleaners and polishes to tools and accessories. Let’s dive into the must-have items for basic car detailing.
How to Remove Salt Stains from Car Carpets and Mats: A Step-by-Step Guide
Winter driving often means dealing with road salt, which can leave stubborn white stains on your carpets and mats. While road salt is essential for safer streets, it creates unsightly stains that weaken carpet fibers if not addressed. Keeping your car’s interior in top shape during snowy months requires proper care and cleaning.
How do I Remove Pet Hair from a Car?
As a pet owner, you’ve probably struggled with pet hair clinging to every corner of your car. It’s not just unsightly — it can also trigger allergies and make your vehicle feel less fresh. Fortunately, removing pet hair doesn’t have to be a losing battle. This guide breaks down the most effective methods to restore your car’s interior to a clean, fur-free state.
How to Clean Leather Car Seats Without Damaging Them: A Step-by-Step Guide
Leather car seats bring comfort and style to any vehicle, but keeping them in top condition requires special care. You can easily clean your leather seats with the right approach and quality products while protecting them from wear, stains, and cracking. This guide will review the best techniques for maintaining leather seats and highlight Stoner Car Care products that deliver professional results. Follow these steps to keep your leather seats looking beautiful and well-preserved for the life of your car.
Scratch-Free Car Wash: Your Guide to a Flawless Finish
A clean car enhances its appearance, maintains value, and protects the paint. You can wash your vehicle confidently with the proper techniques and products, avoiding scratches and achieving a spotless shine. This guide will explain how to clean your car safely and effectively, ensuring a flawless finish every time.
How Long Does Car Detailing Take? A Breakdown of the Process
What is Paint Correction, and Do I Need It?
When it comes to keeping your vehicle’s exterior looking pristine, the term “paint correction” often comes up. But what exactly is paint correction, and why might you need it? In this post, we'll break down the paint correction process, show you how it works, and help you decide if it's the right step to maintain your vehicle's showroom shine.
Car Washing vs. Car Detailing: Understanding the Difference and Why It Matters
Keeping your vehicle in top condition requires more than just a simple wash. Many use the terms "washing" and "detailing" interchangeably, but these two processes differ. Both play crucial roles in maintaining your car’s appearance but involve varying levels of effort, products, and techniques. In this blog, we’ll break down the key differences between washing and detailing and show you how Stoner Car Care products can enhance both, helping you keep your car looking its best.
Drive-Through Car Washes: Safe or Risky for Your Car?
As a car owner, keeping your vehicle pristine is likely a top priority. Drive-through car washes offer a convenient option for maintaining your car's cleanliness, but many wonder if they are safe for their vehicle. In this blog, we'll explore this question in detail, examining the potential risks and benefits of using drive-through car washes and providing tips on minimizing any possible damage.
What is the Best Way to Clean Car Windows Without Streaks?
Have you ever peered through streaky car windows, unsure if you were seeing road grime or leftover cleaner? You're not the only one. Washing car windows seems simple enough, but getting that perfect, streak-free shine can be tricky. Those annoying water spots and streaks aren't just eyesores - they can make it harder to see while driving, which isn't great for safety. But don't worry, we've got your back. In this guide, we'll discuss the best ways to get your car windows sparkling clean. We'll explore what works, what doesn't, and how to get results that rival a professional detailing job.
Fresh Air Ahead: How to Clean Your Car’s Air Vents for Better Air Quality
Keeping your car's air vents clean is critical to maintaining clean air inside your vehicle. Over time, dust, pollen, and other particles can build up, leading to unpleasant odors – and potentially affecting your health. With a few easy steps and the right products, you can ensure your air vents are spotless, and your drive is more enjoyable. Let’s dive into a simple and effective way to maintain your cabin’s air quality.
To Coat or Not to Coat: Is it Worth Getting a Ceramic Coating for My Car?
When it comes to maintaining the pristine condition of your car, paint protection is a top priority for many car owners. One popular method gaining traction in the automotive world is ceramic coating. But is it worth the investment? In this blog post, we’ll dive into the details of ceramic coatings, their benefits, and whether they are the right choice for your vehicle.
How to Start a Car Detailing Business: A Comprehensive Guide
Diving into the car detailing world can be an exciting and lucrative journey for car enthusiasts who love making vehicles shine. As the demand for professional car care grows, aspiring entrepreneurs have a ripe opportunity to make their mark. This guide will steer you through the critical stages of launching your car detailing business – from crafting a solid plan to putting that plan into action. Let's get your engines revving and gears shifting towards a successful business venture!
Gloss Like a Boss: Expert Techniques for Waxing Your Car
Waxing your car does more than just boost curb appeal – it's vital for preserving your vehicle's exterior. A well-waxed car doesn't just turn heads; it also stands a better chance against environmental threats like UV rays, rain, and road pollutants. Ideal for both auto enthusiasts and those aiming to keep their ride in tip-top shape, mastering the proper waxing techniques is key. Join us as we dive into the best practices for car waxing, sharing step-by-step guidance to ensure your vehicle sports a flawless, lasting gloss.
How Can I Protect My Car's Paint from Fading?
Your car's paint does more than just make it look good; it acts as a vital shield against environmental assaults. Yet, despite its importance, the vibrant finish can degrade over time due to the relentless sun, pollutants, and general wear and tear. This not only affects your vehicle’s aesthetic appeal but also its overall value. In this blog, we'll explore several proactive measures you can take to protect your car’s paint from fading, ensuring it stays as fresh and radiant as the day you drove it off the lot.
How to Remove Odors from Your Car Interior
Unleash a Cleaner Car: How to Get Rid of Pet Hair
Anyone who's ever had a pet knows the joys they bring: endless affection, companionship, and, unfortunately, a whole lot of pet hair. The fur will fly whether you take a quick trip to the park or an extended vacation drive, finding its way into every corner of your car, from the back seat to the carpets. Happily, you don’t need to leave Fido at home to have a clean ride. Clearing out pet hair can be quick and easy with the proper techniques and some top-notch car detailing products. This guide will walk you through the best ways to keep your vehicle looking spotless, no matter how furry your companion
Choosing the Best Wash: Automatic Car Washes vs. Hand Washing
Keeping your car looking spotless is essential, but deciding between an automatic car wash and hand washing can be tricky. Each method offers unique benefits and drawbacks, influenced by your schedule, car needs, and even your personal touch. In this guide, we’ll dive deep into the pros and cons of automatic car washes and hand washing, providing the insights you need to make the best choice for maintaining your vehicle’s sparkle and health. Whether you're pressed for time or need a detailed cleaning, understanding the options will help ensure your car always looks its best.
